Office Javascript APIの使い方を簡単に調べることが可能なScript Labアドインの使い方について説明しています。
Office Javascript APIの使い方だけでなく、HTML、CSS等がどのようにExcel・Word・PowerPoint等で表示されるのかも調べることが可能です。
Contents
ScriptLabのインストール方法
以下、エクセルでのインストール・使い方等を書いていますが、基本他のWord, PowerPoint等でも同じですので、是非Script Labアドインをインストールして、Office Javascript APIの使い方に慣れていってください。
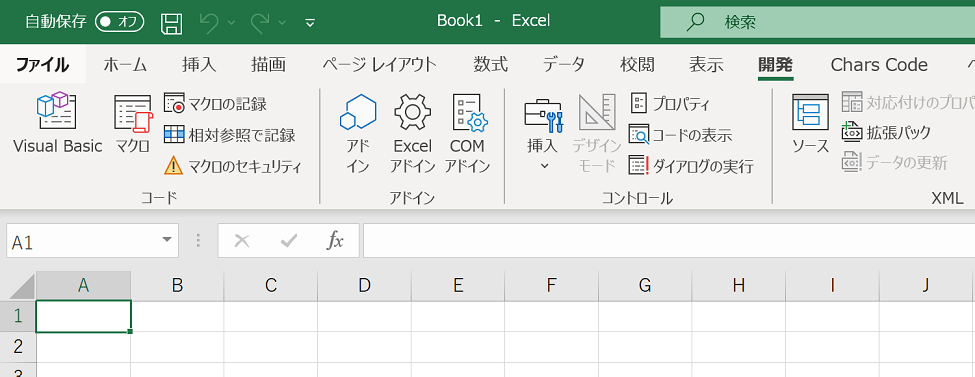
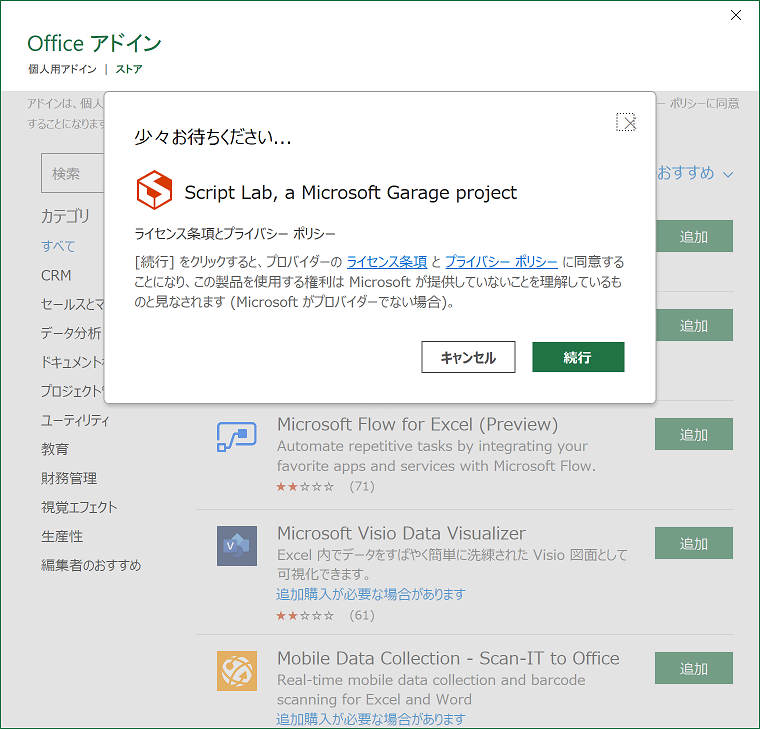
「開発」タブ→「アドイン」ボタン(六角形のアイコン)を押してください。
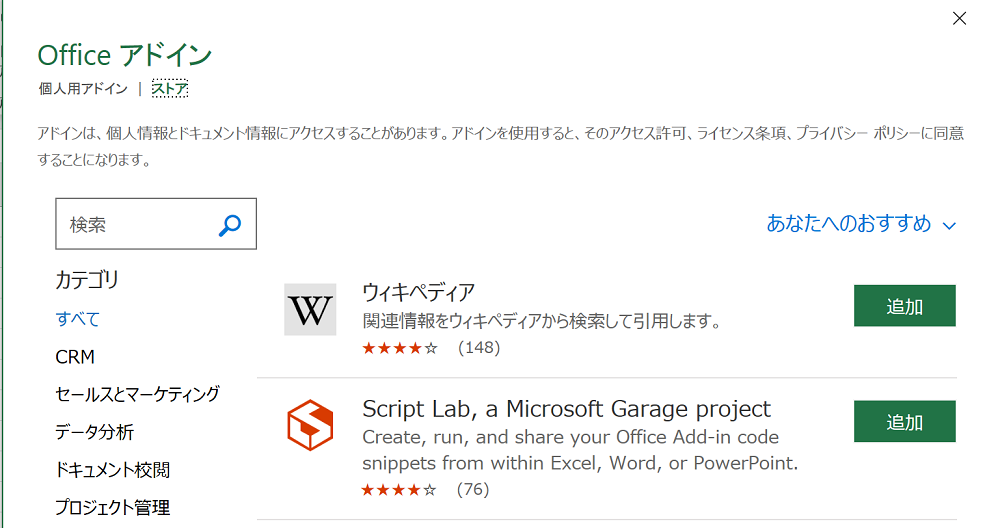
Officeアドインのパネルが表示されるので、タイトル下の小さく表示されている「ストア」の項目を押して、検索窓にて「Script Lab」の検索を行い、追加ボタンを押します。
続行ボタンを押してください。
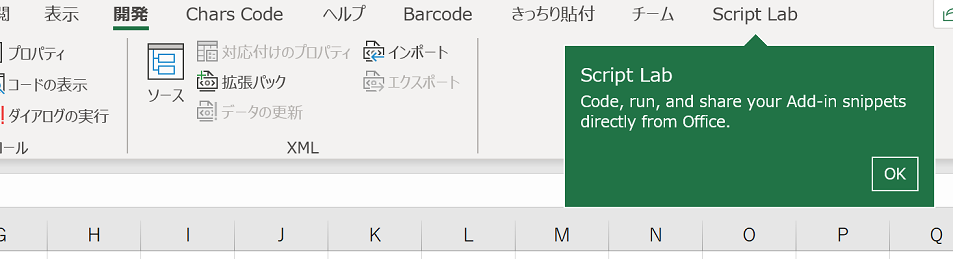
Script Labのタブが表示されます。「OK」を押してください。
ScriptLabの使い方
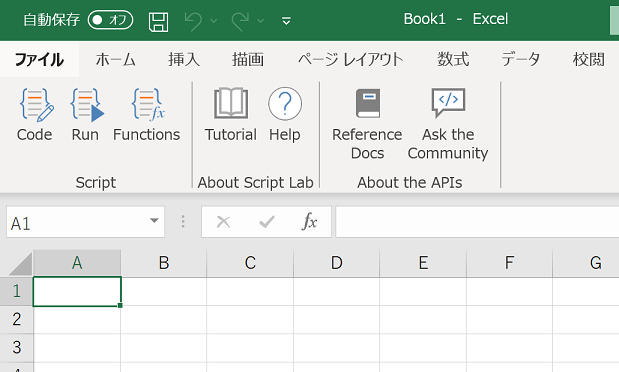
Codeボタン押す
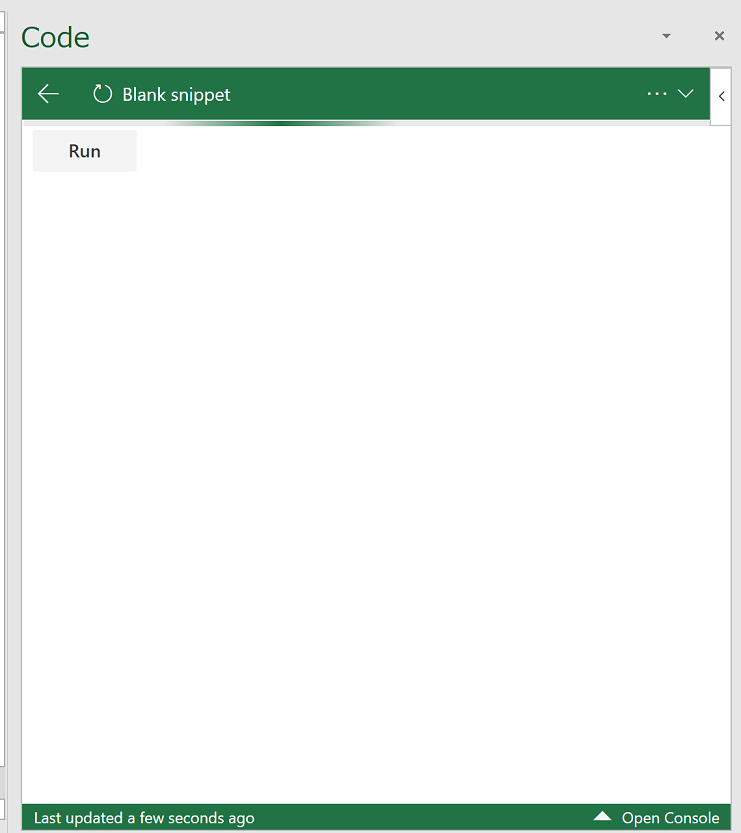
まずは「Code」ボタンを押してください。
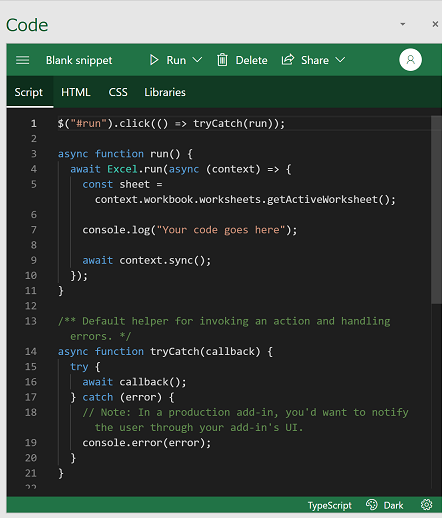
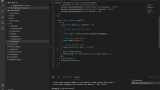
画面右側にCode画面が表示されます。
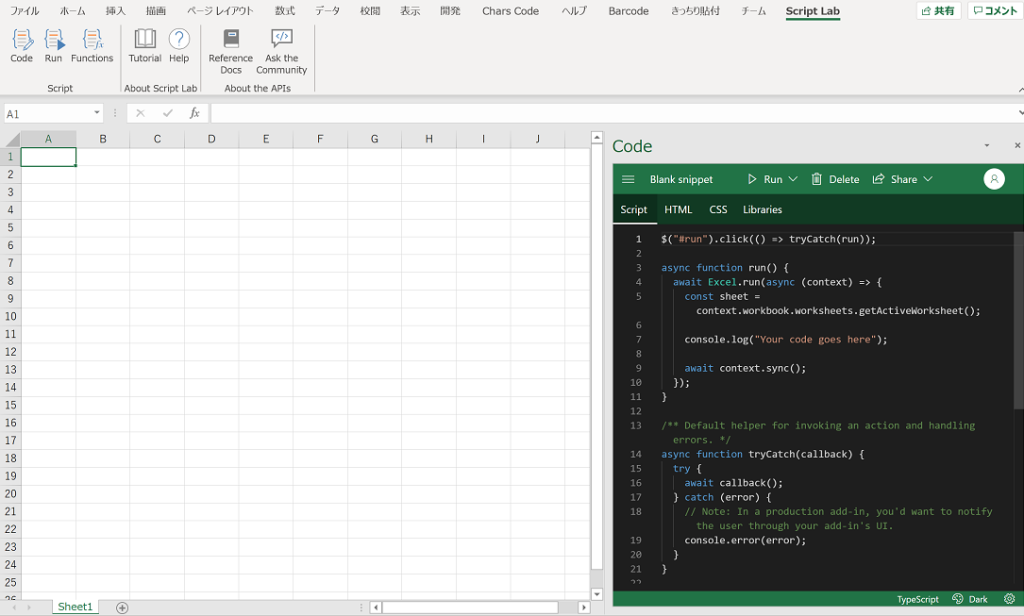
拡大した図。Scriptのタブが表示されているかと思います。
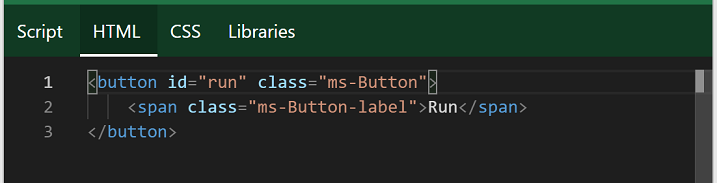
上部にあるHTMLタブを選択した図。ここでHTMLを変更することで、HTMLの表示テストも可能です。
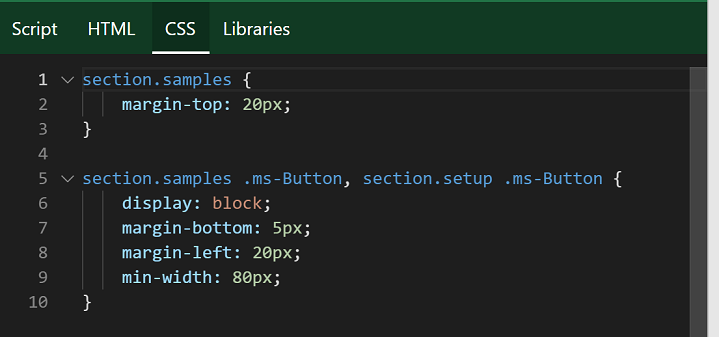
上部にあるCSSタブを選択した図。
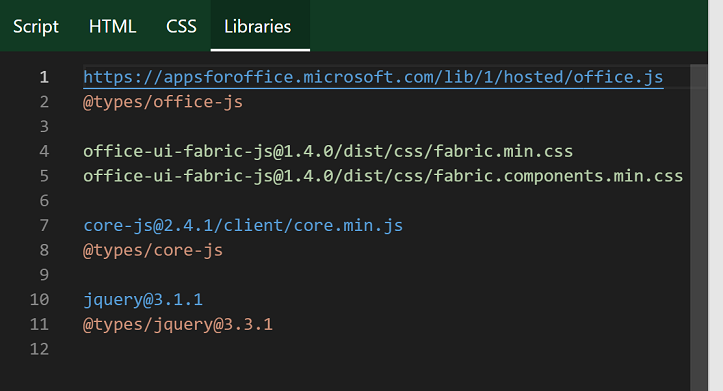
上部にあるLibrariesタブを選択した図。インターネット上に配置されたOffice.js等をダウンロードしてきます。
実際にCodeを走らせてみる
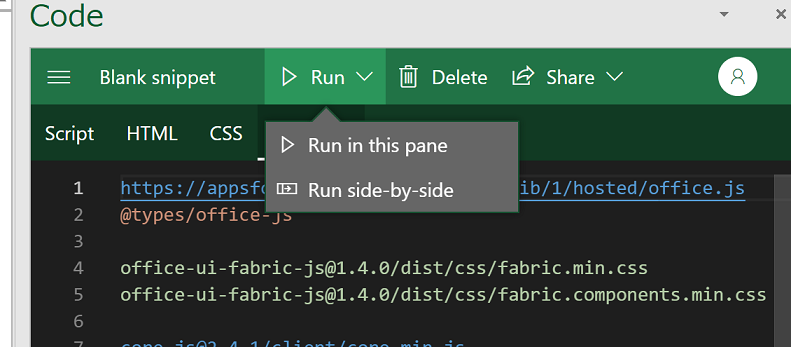
上部にある「▷Run」ボタンを押してください。Run in this paneをクリックしてください。
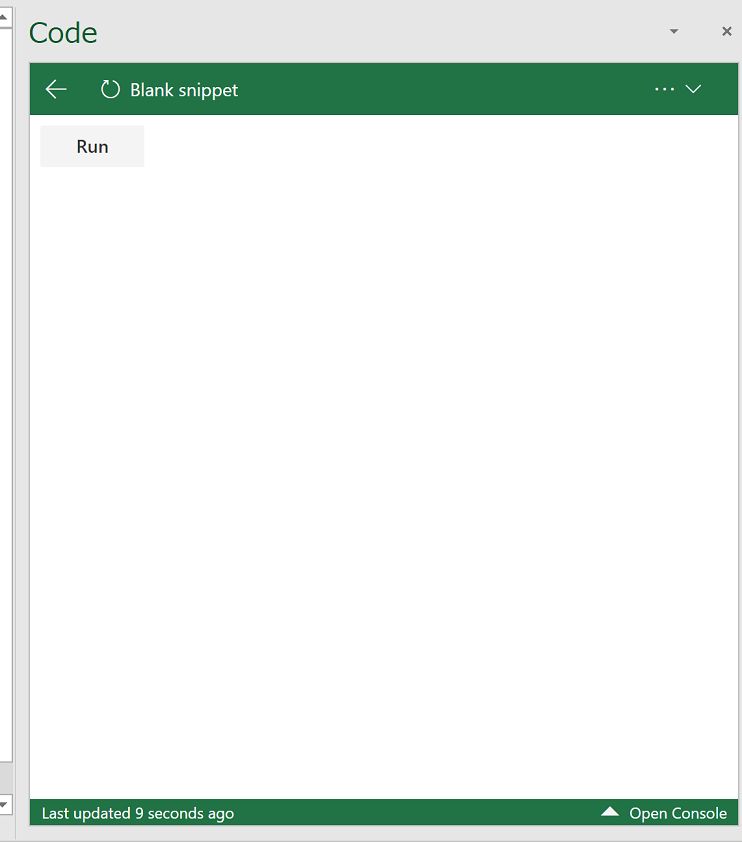
しばらく後に、Runボタンが表示されます。Runボタンを押してください。
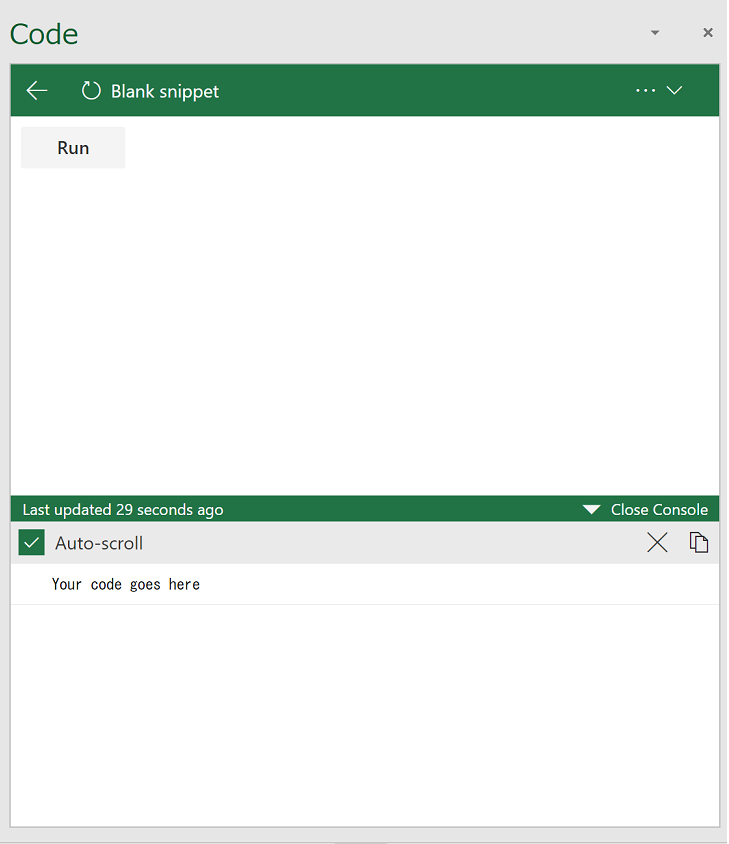
下のコンソールに”Your code goes here”と表示されています。実際にCodeタブで表示されていたコードの内容が実行されていることが分かります。
自分のコードで使ってみる
「Alt+Shift+A」で既存のコードをコメントアウトしてください。(VS Codeと同じ使い方が可能!)
また yo-officeで作成したコードを貼り付けてください。画像下のリンクを参考
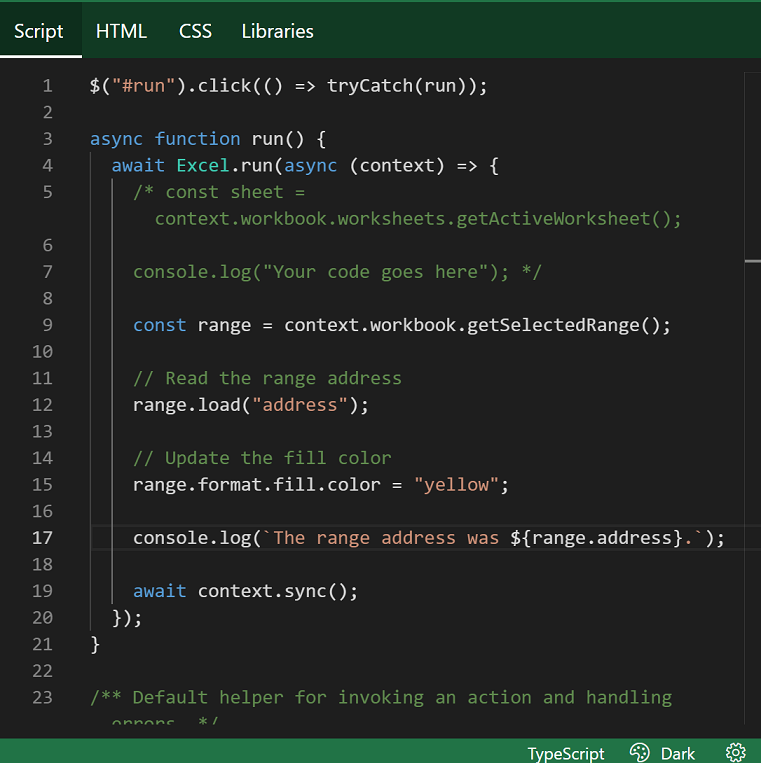
Runボタンを押してください。HTMLとCSSは変更していないので、この時点では変わりなし。
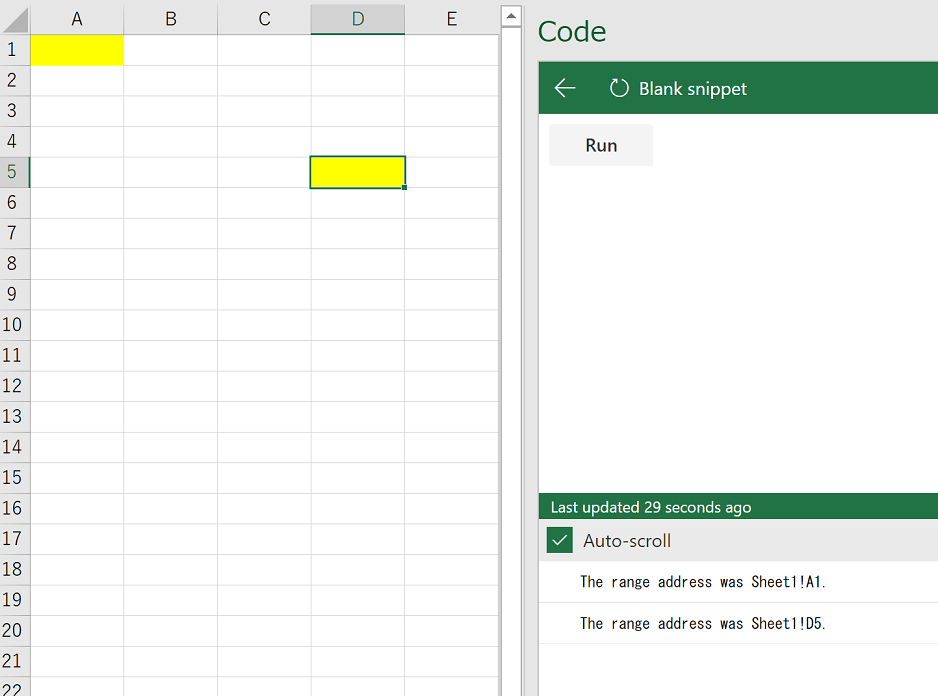
実際にCode paneのRunボタンを押した図が以下のようになります。選択されたセルが黄色になり、consoleには選択されたシートと選択されたセルの番号がひょじされています。
編集・他のサンプルについて
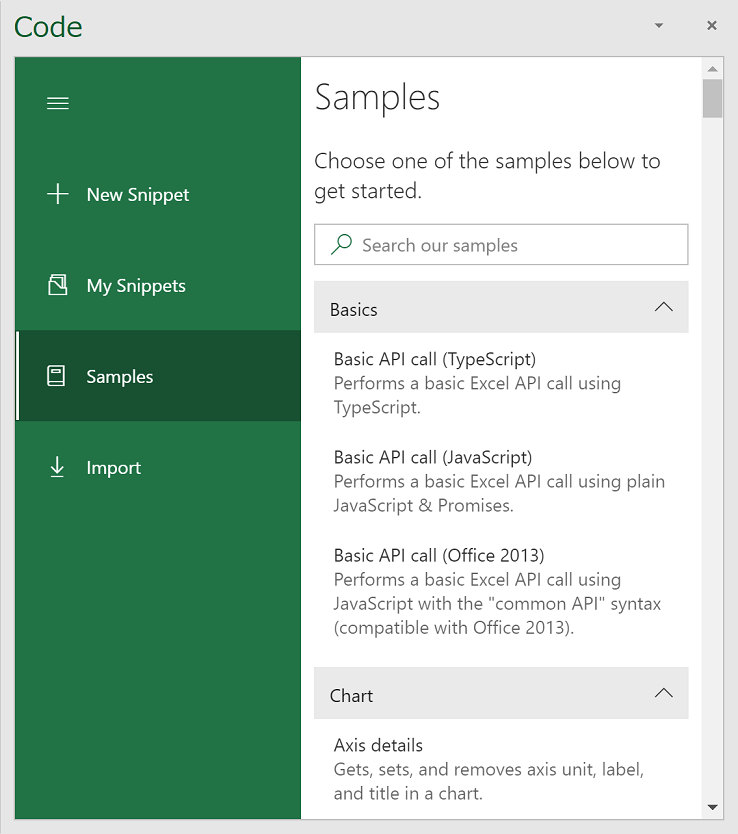
Code Paneの左上にあるハンバーガーアイコンを押すと以下が表示されます。
「+」ボタンは空のスクリプトを作成してくれます。「Samples」は簡単なサンプルが表示されます。また「My Snippets」では自分で作成したものを保存等が可能です。
Office Javascript API について
実際に自分のアドインを開発する際は、以下のリンクから探して、上記のScript Lab アドインで実行してみて作り上げていきます。