以前書いたその1.の続きです。今回はその中のOfficeアドイン開発ツールをどんどんインストールしていきたいと思います。ちなみにOSはWindows 10です。
Contents
Node.jsのインストール
まずはJavascript開発全般で必要となるNode.jsのインストールです。
Node.jsのインストーラをダウンロード
2021 10/04時点ではnode-v14.18.0がお勧めの様です。 もう少しあと 10/27頃だと v16が最もお勧めになるのですが、10/04時点では v14が良いでしょう。これは Long Term Support(LTS)の関係で、最も長くサポートされるバージョンを選択する必要があります。 10月末に再インストールして確認を行おうかと考えております。現時点では何も考えずにLTS”Recommended For Most Users”を選択すればよいかと思います。
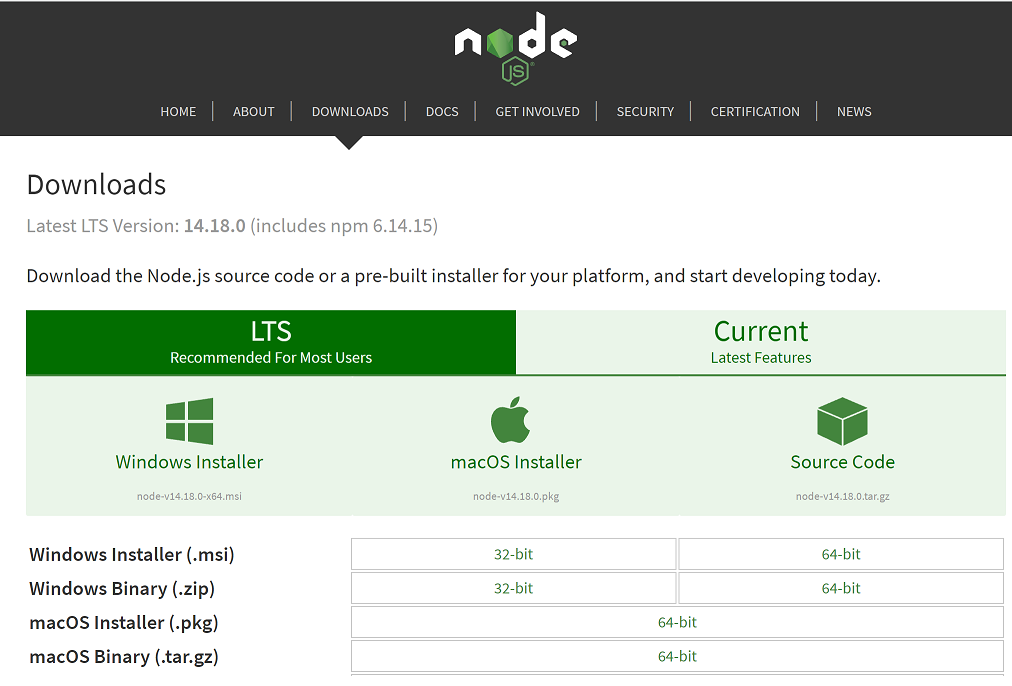
自分のWindowsの 64bitですので、x64を選択してダウンロード。(自分の環境の確認の仕方はこちらを参照)

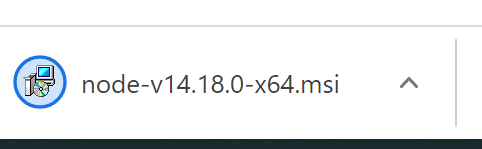
ダウンロードが完了すると以下のアイコンが表示されるので、クリック。それでだめな場合は、右側の上>をクリックして、ダウンロードフォルダを開いて、実際のファイルで実行して下さい。
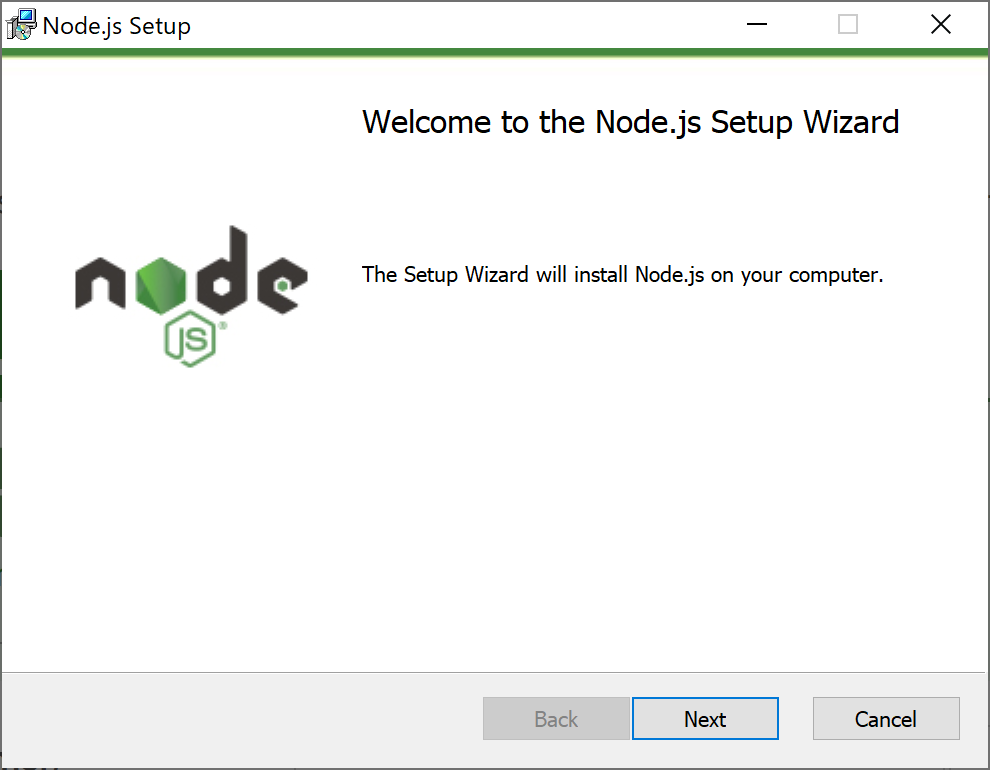
インストール開始
インストーラの開始画面が開きます。「Next」ボタンを押す。
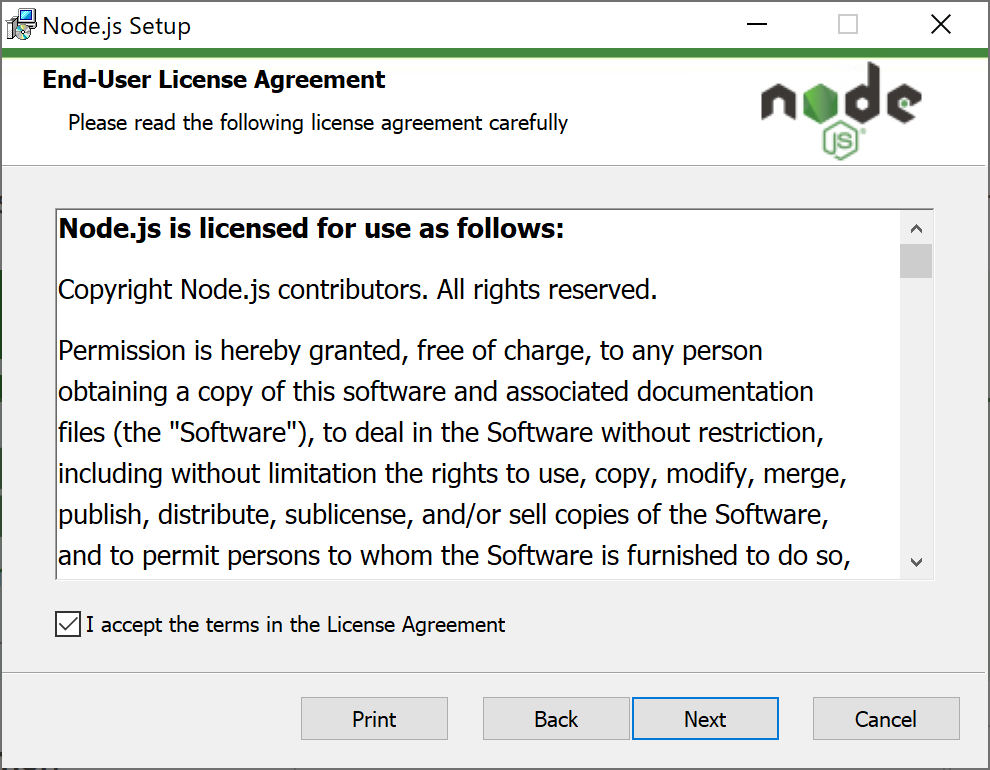
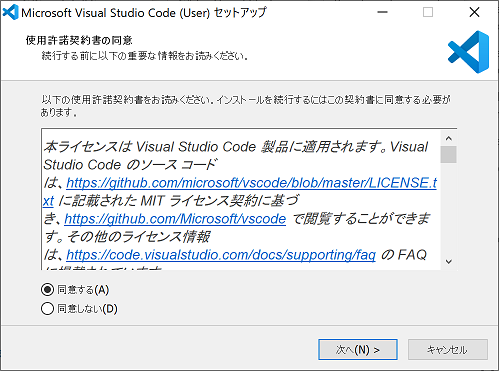
「I accept the terms in the License Agreement」のチェックを入れて、「Next」ボタンを押す。
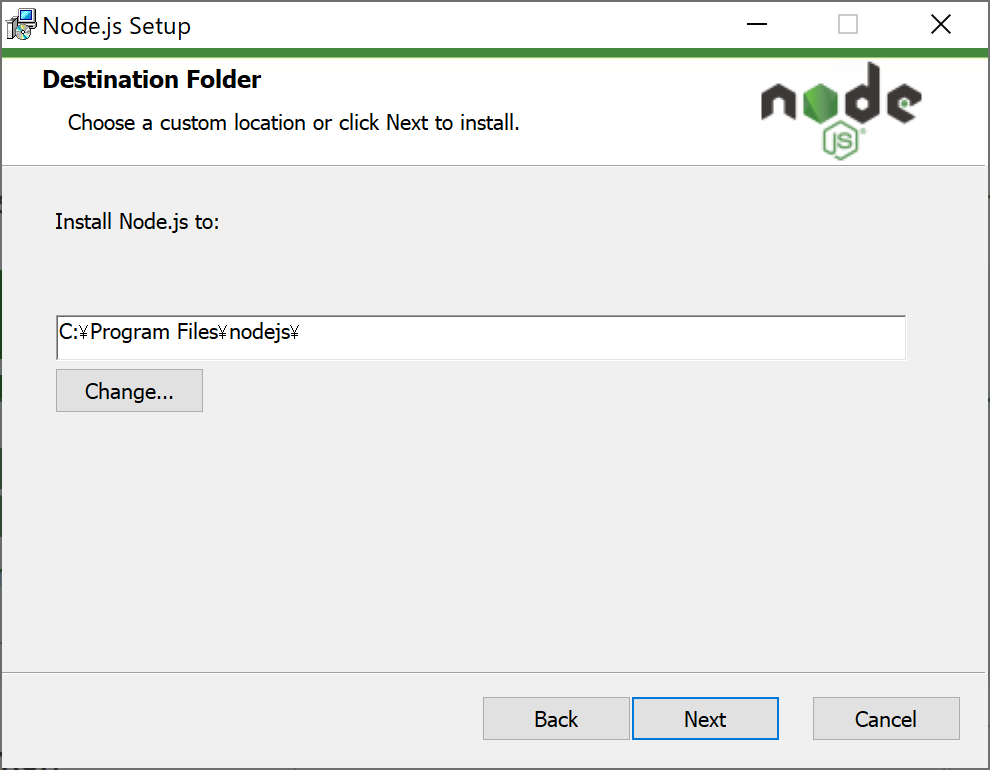

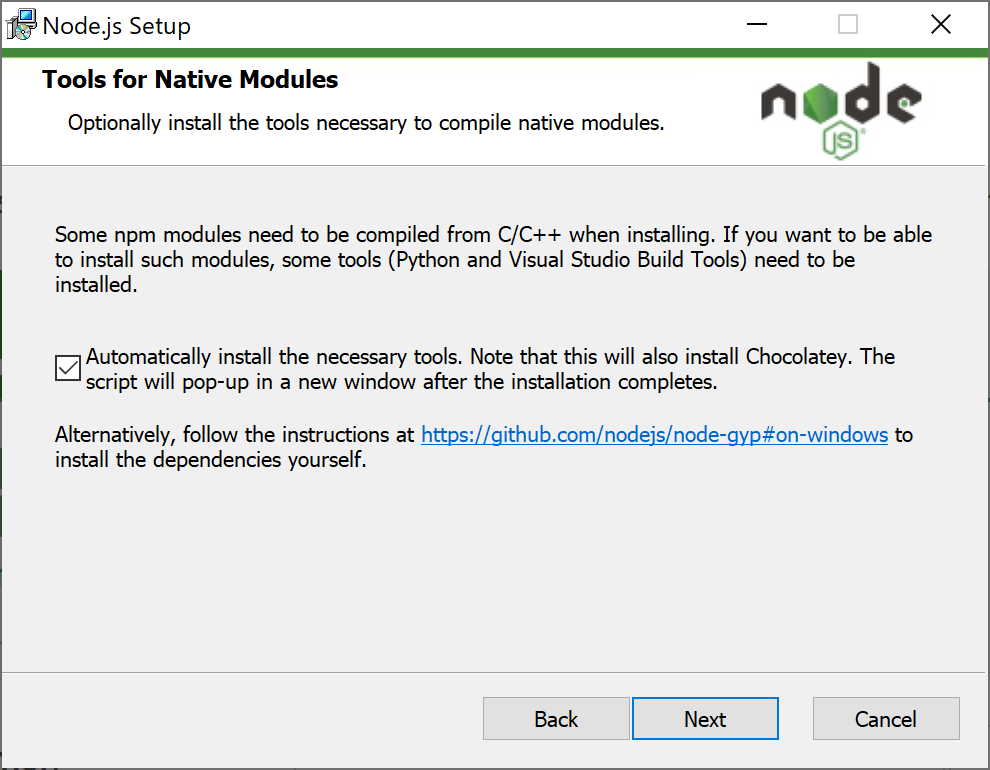
「Next」ボタンを押してください。(Visual Studioを使用する場合は真ん中のチェックボタンを入れます。)
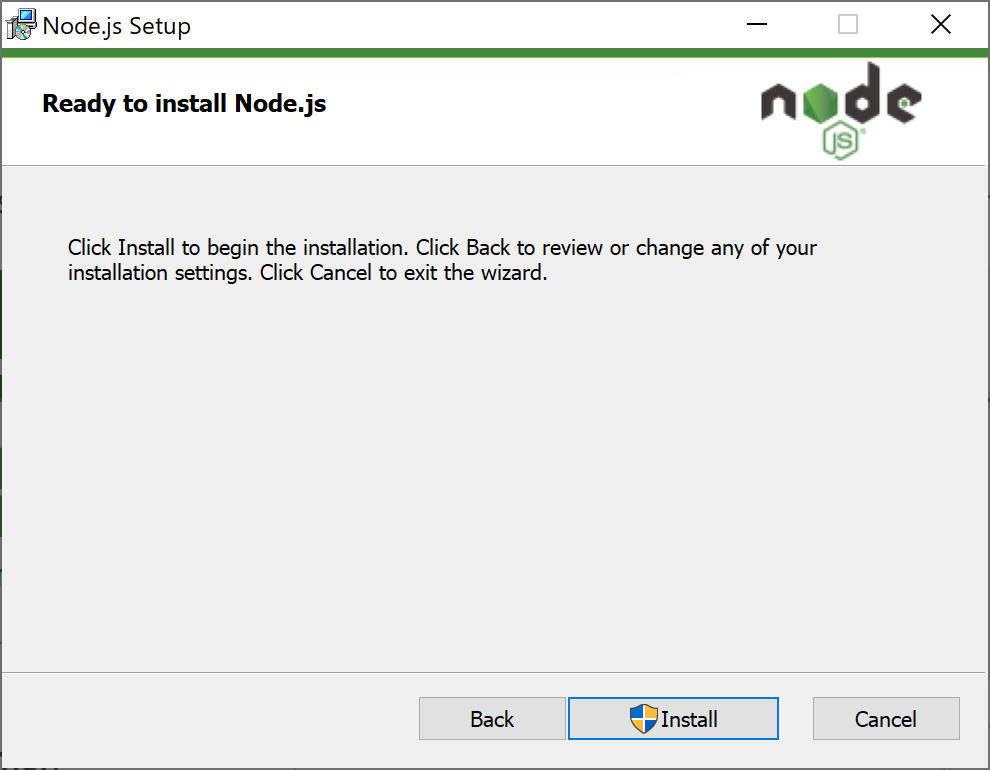
「Install」ボタンを押して下さい。
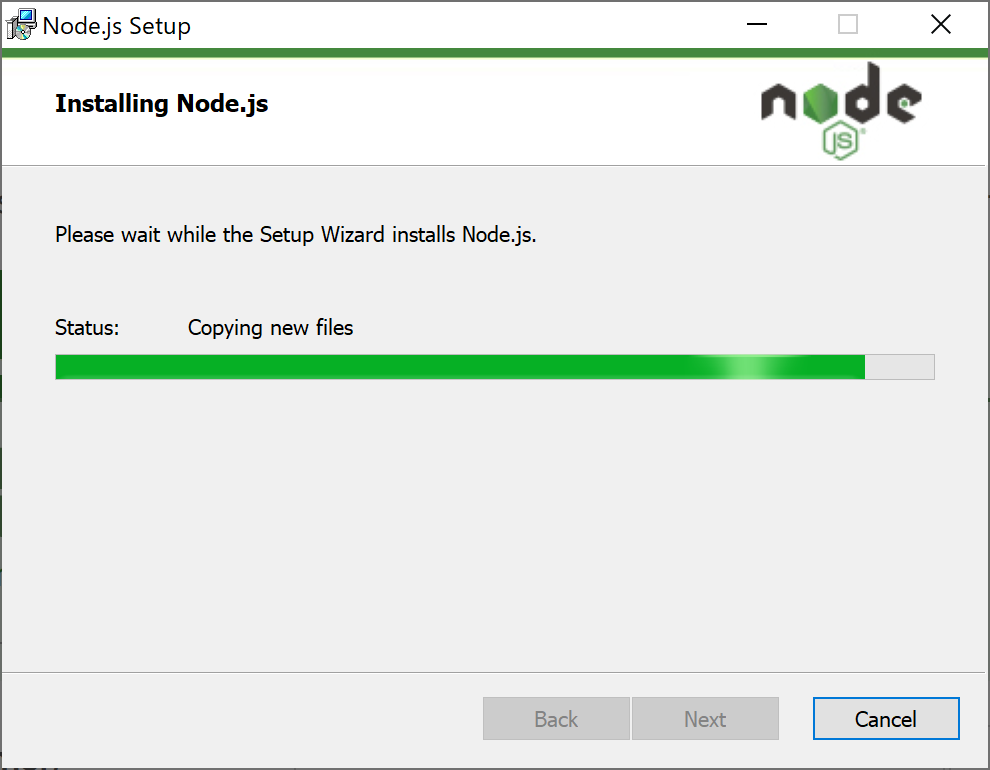
インストール画面の途中
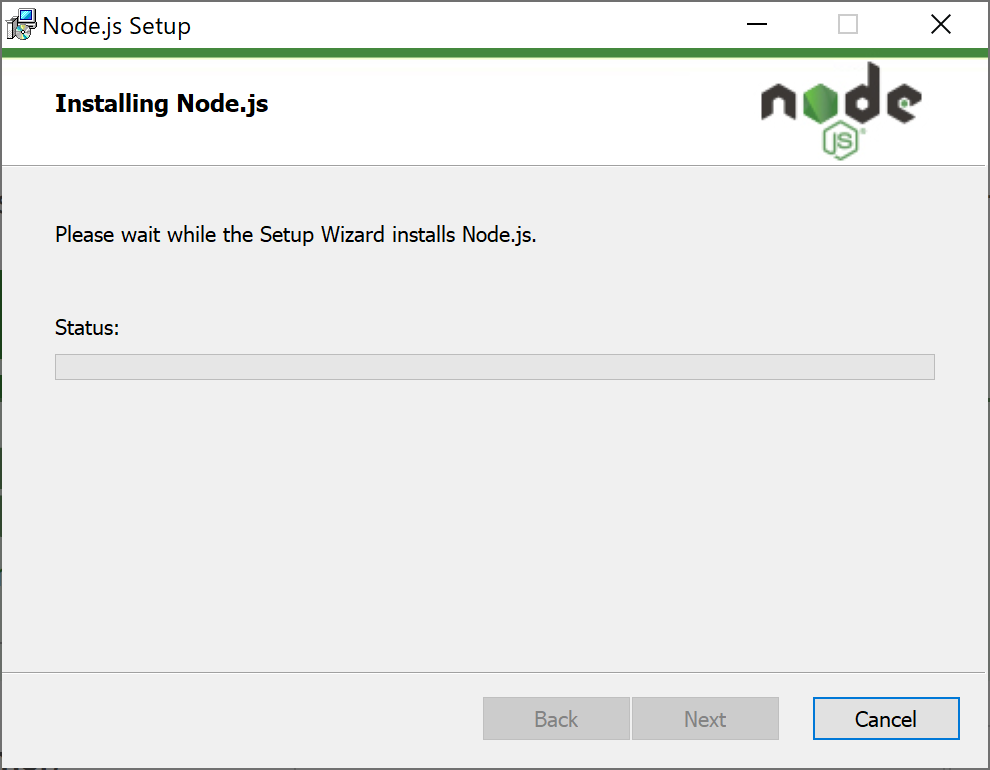
インストール画面の途中
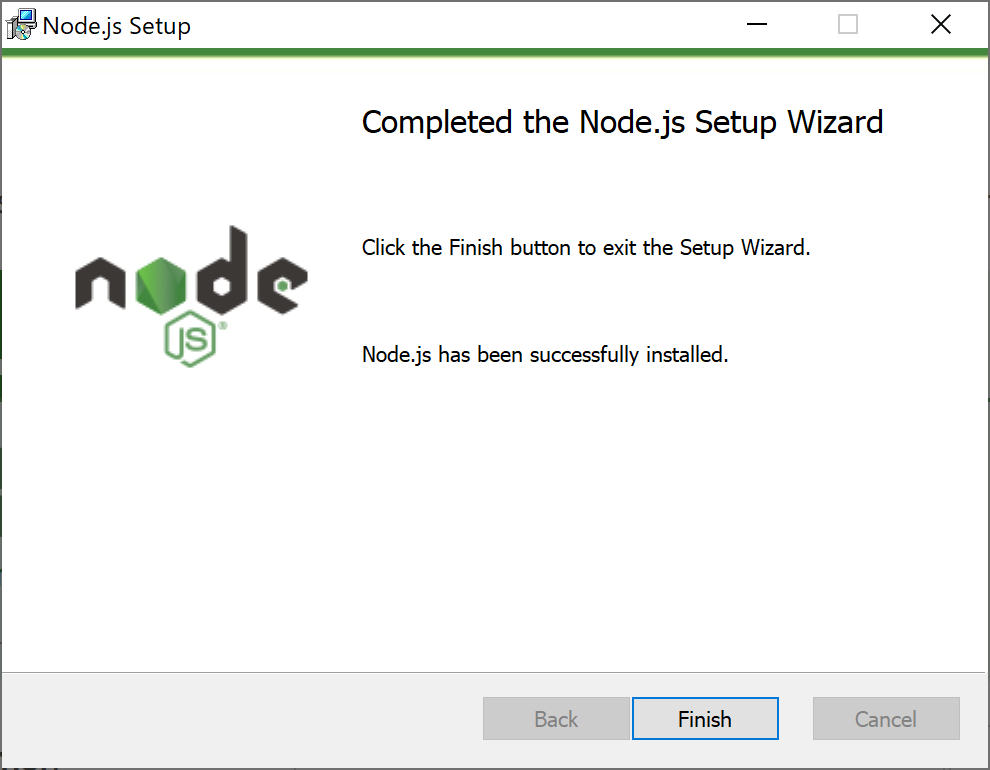
インストール完了したので、「Finish」ボタンを押して下さい。
先ほど、Visual Studioを使用する場合は真ん中のチェックボタンを入れた場合は以下のような画面が表示されます。Enterキーを押して下さい。
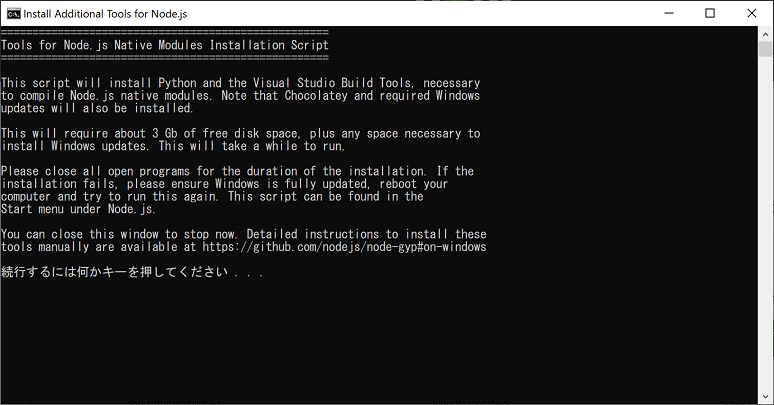
Enterキーを押して下さい。
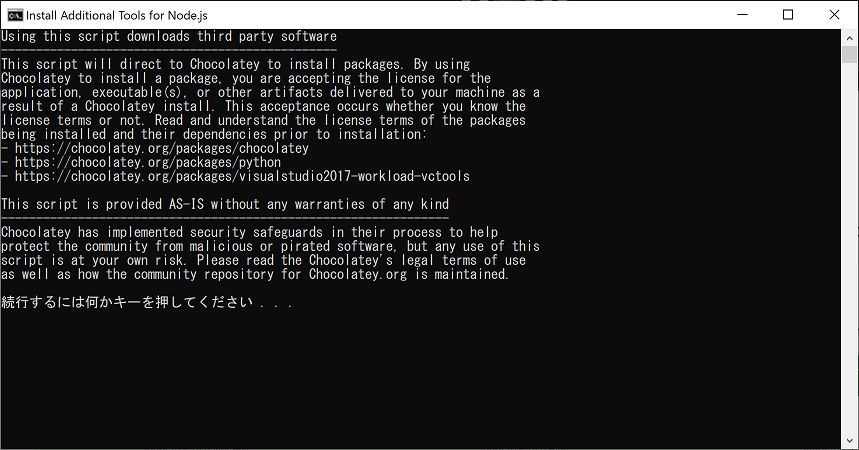
自動でインストールが進んでいきます。
Enterキーを押して下さい。以上でインストールは完了です。
インストールされていることの確認
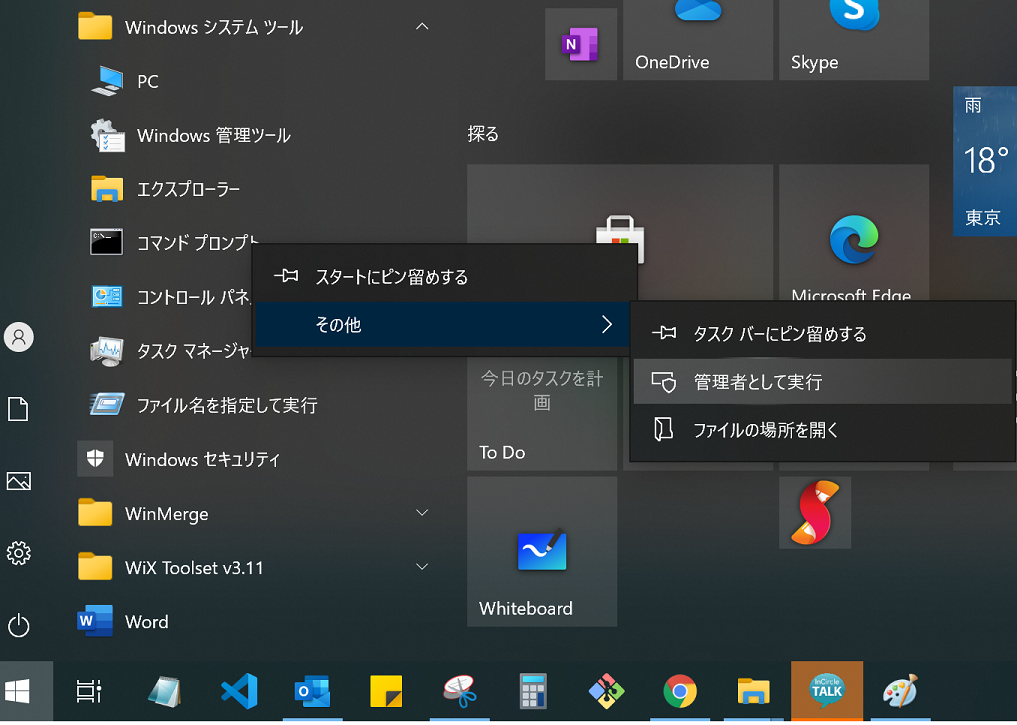
Windowsマーク ⇒ Windowsシステムツール ⇒ コマンドプロンプト ⇒ その他 ⇒ 管理者として実行
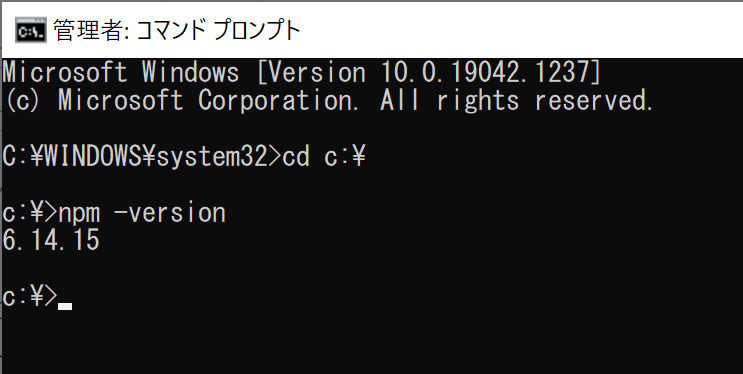
npmコマンドがどこでも有効かを確認するために、「cd c:\」+「Enterキー」⇒「npm -version」+「Enterキー」を入力して下さい。バージョンが表示されていればコマンドがどこでも有効であることが確認できます。
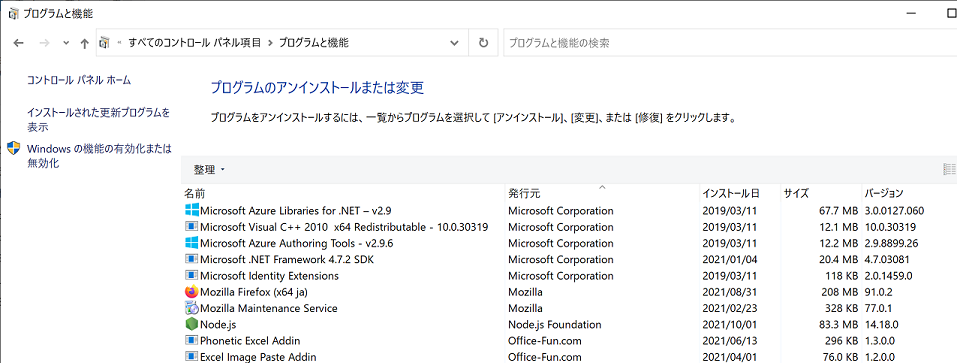
もう一つの確認方法として、以下の「コントロールパネル⇒プログラムと機能」からのインストールされているかの確認ができます。「Node.js」のアイコンがあればインストールされているかを確認でkます。
Yeomanのインストール
以下の手順でYeomanとYeomanのOfficeテンプレートをインストールします。
Windowsマーク ⇒ Windowsシステムツール ⇒ コマンドプロンプト ⇒ その他 ⇒ 管理者として実行(念のためです。通常のコマンドプロンプトでも構いません)
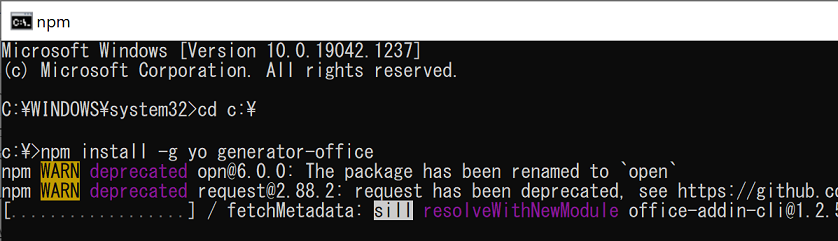
「cd c:\」+「Enterキー」で c:\へ移動し、 「npm insatall -g yo generator-office」+「Enterキー」を押して下さい。(npmが自動でダウンロードサイトへアクセスし, Yeoman とgenerator-officeのダウンロード・インストールを行ってくれます。)
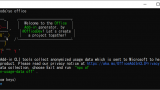
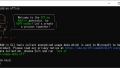
Yeomanのインストールが完了しました。[Everything looks all right!]と表示されています。

VS Codeのインストール
現在は少し変わっているかもしれませんが、以下にVScodeのインストール手順を書き記します。
以下のページからダウンロードして下さい。
VS Codeのインストール
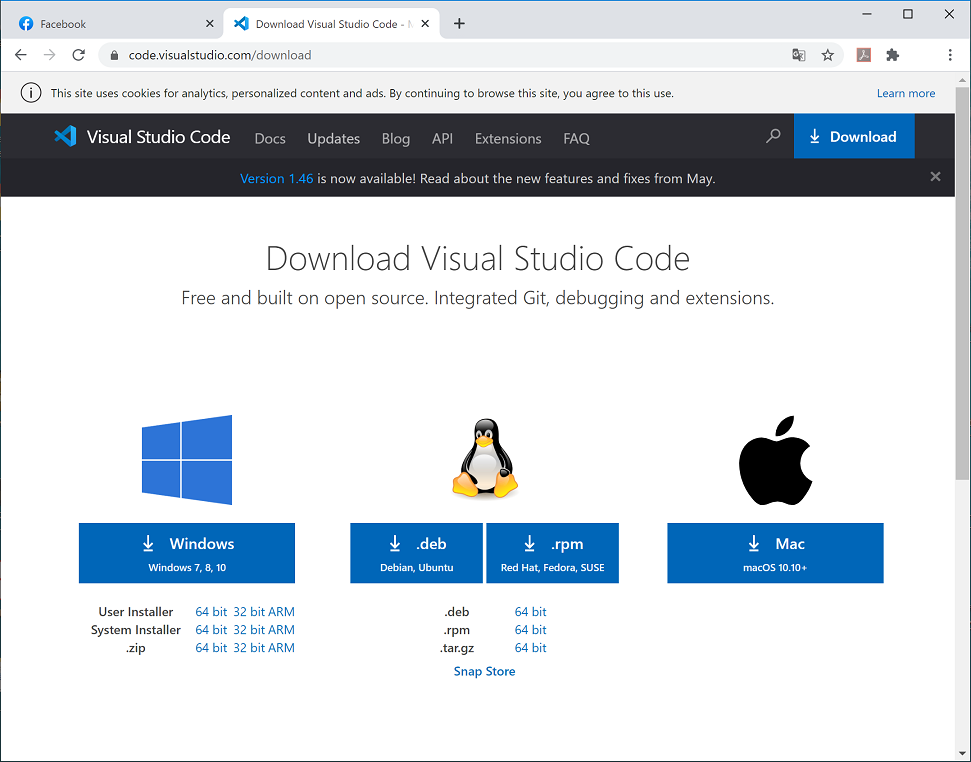
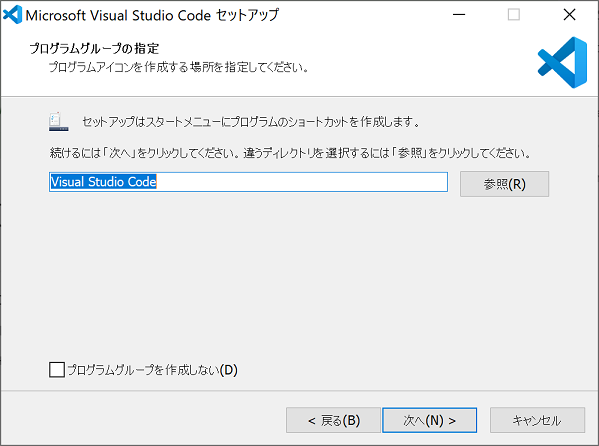
VS codeのインストール場所の選択。
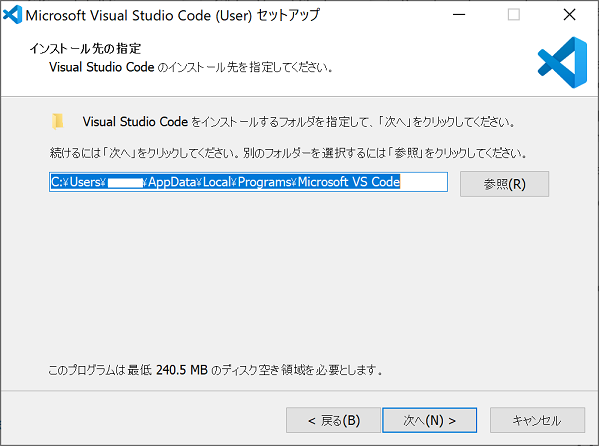
よくわからないので、Program Filesに変更しました。「次へ」ボタンを押してください。
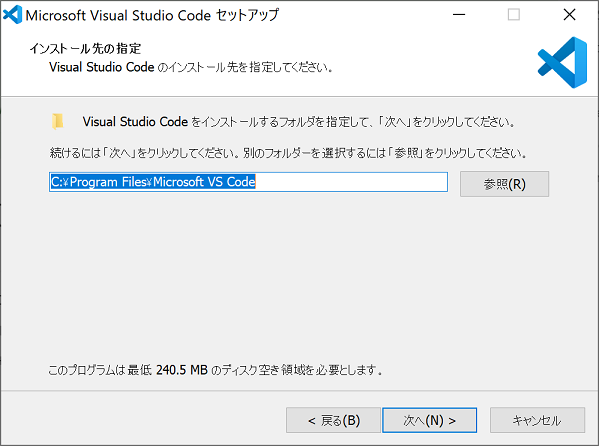
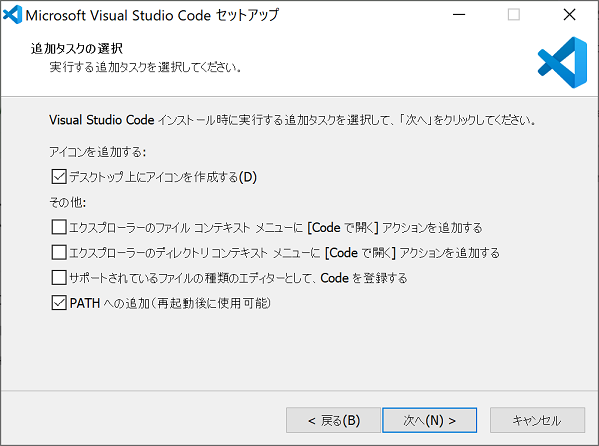
「次へ」ボタンを押してください。
「次へ」ボタンを押してください。
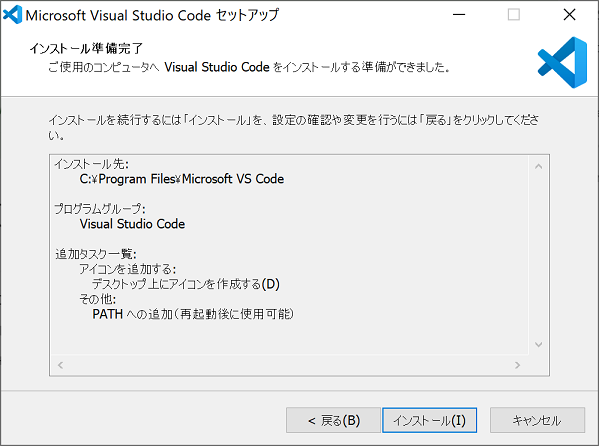
「インストール」ボタンを押してください。
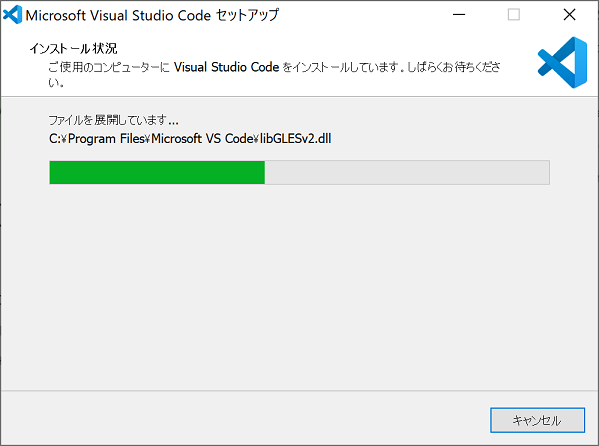
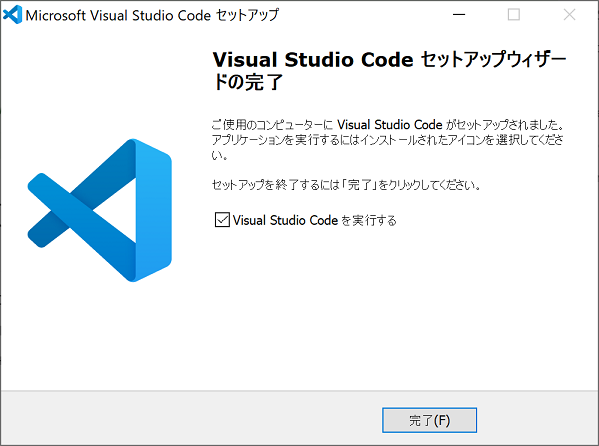
インストールが完了しました。「完了」ボタンを押してください。
VS Codeのメニュー日本語化拡張機能
VS Codeが表示されます。
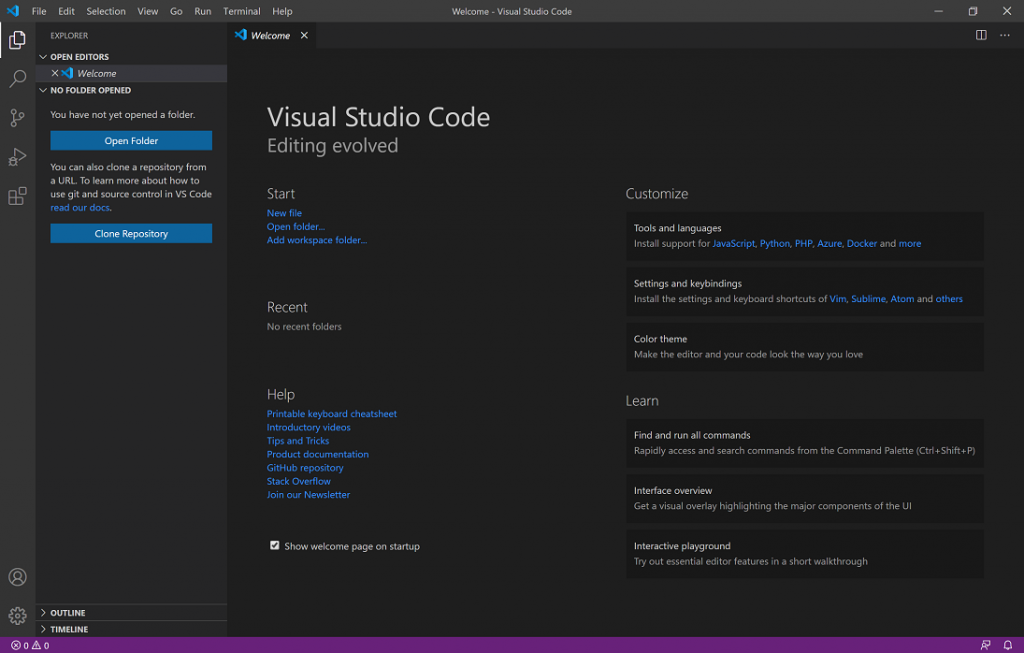
メニュー → 「View ⇒ Command Palette」を選択してください。
「Configure Display Langauge」or「Change Language Mode」を入力
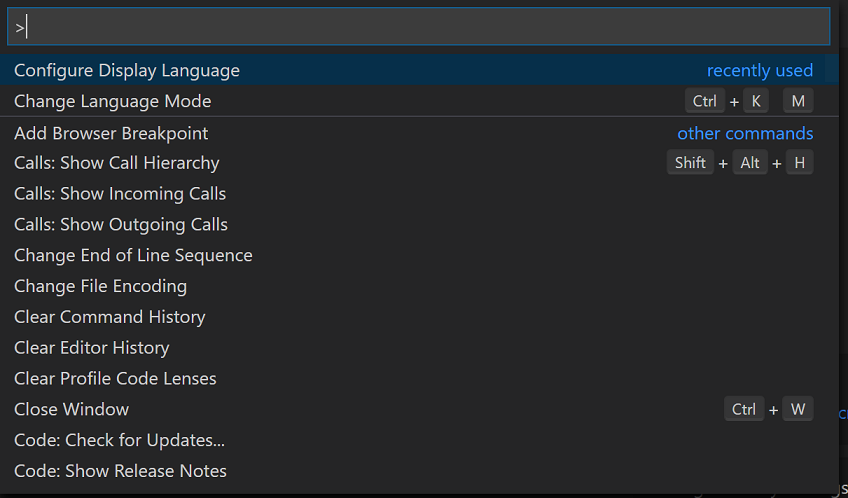
「Install additional languages..」を選択。

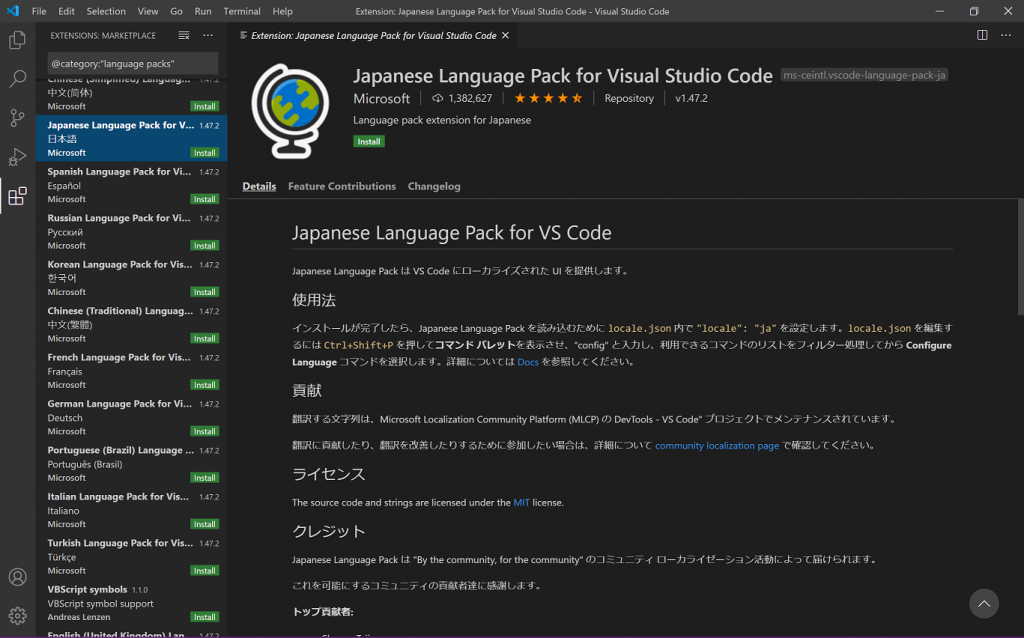
「Japanese Language Pack for V…」の横にある緑の「Install」ボタンを押してください。
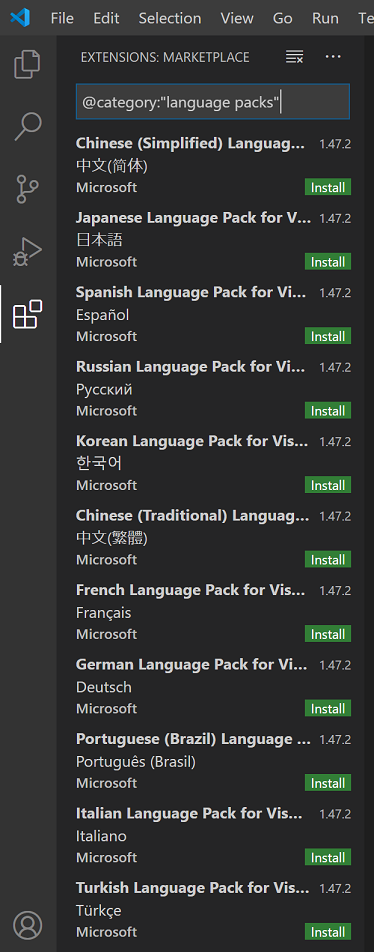
日本語官庁がインストールされます。メニューが日本語に変更されます。
Script Labのインストール
Office Javascript APIを簡単にテストするための Script Labをインストールする手順を以下に記します。
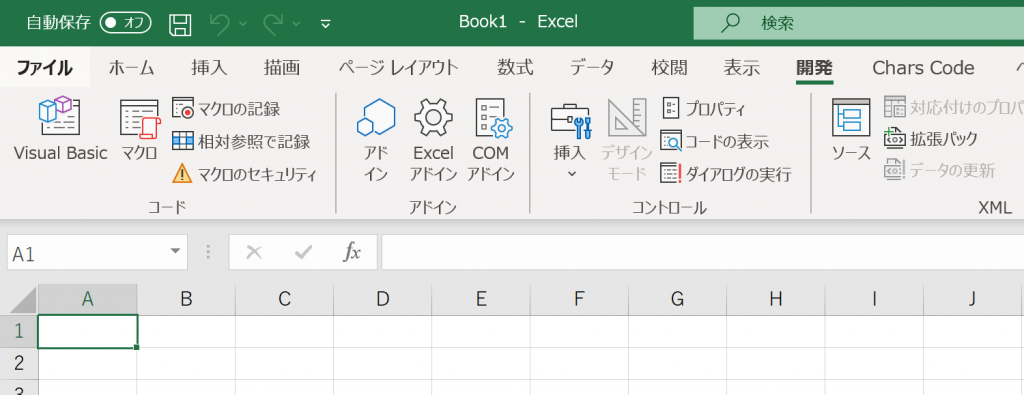
開発タブを開いてください。アドインボタンを押してください。
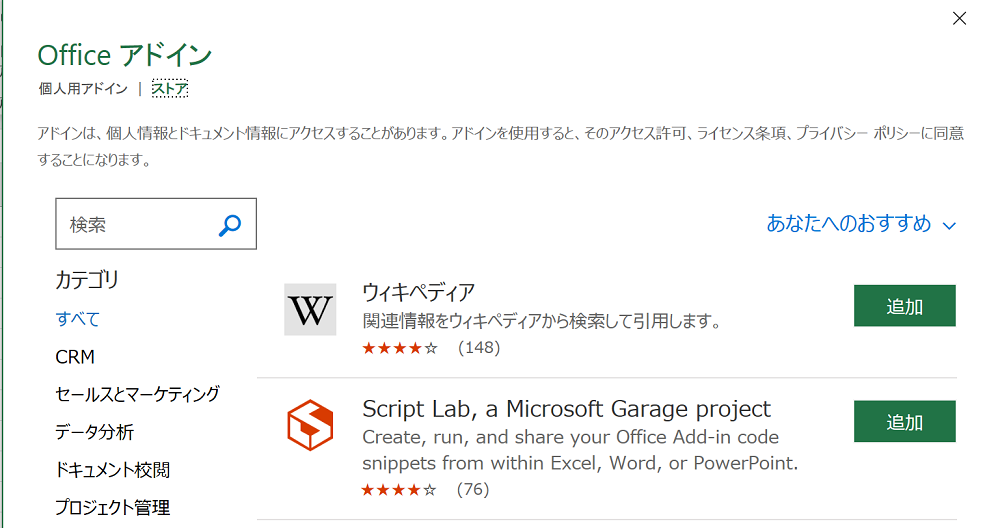
Office アドインの画面が開いたら、Officeアドインの文字の下にある「ストア」タブをクリックしてください。「検索」の入力領域で、「Script Lab」を検索し、表示されたら緑の「追加」ボタンを押してください。
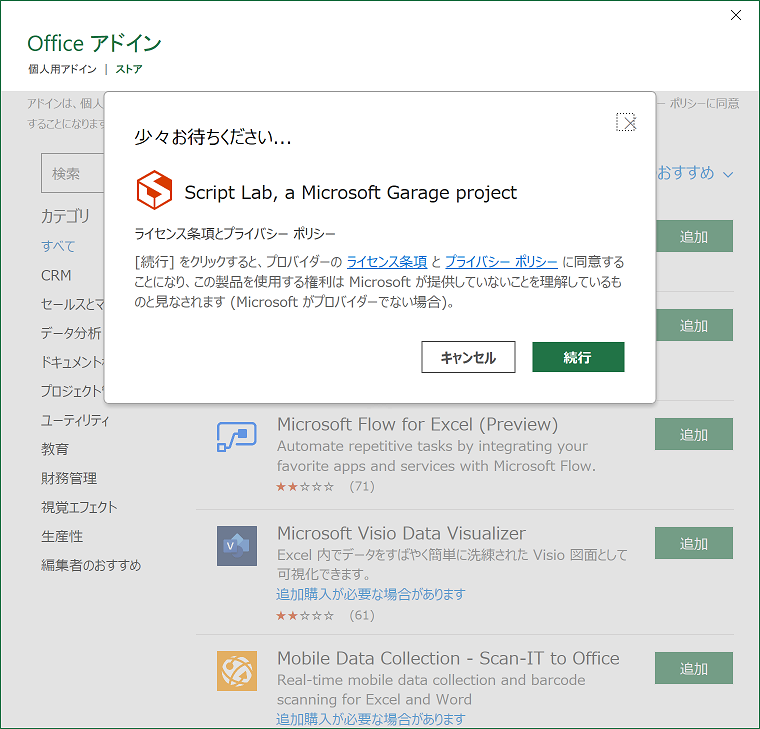
「続行」ボタンを押してください。
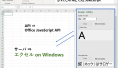
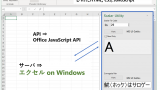
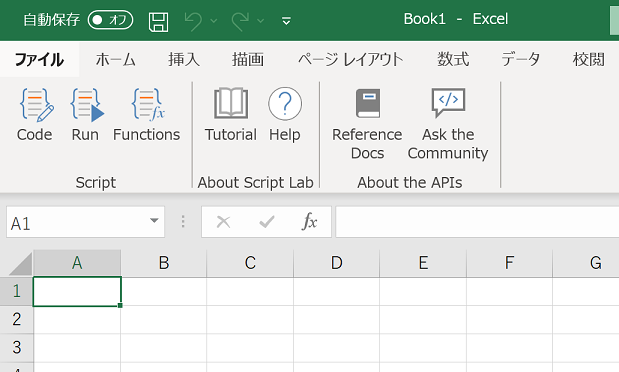
Script LabのOKボタンを押して、Script Labのタブを開いてください。
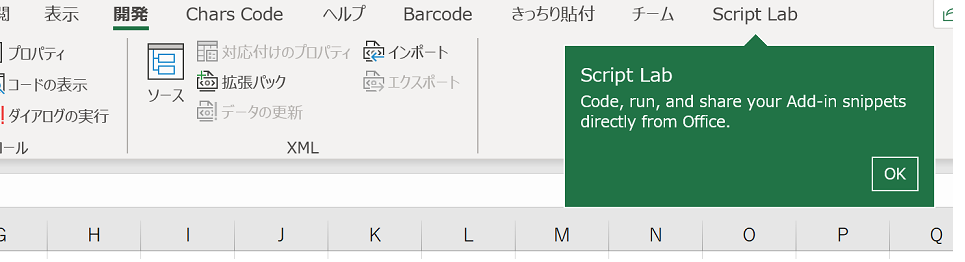
以下のように表示されていれば、OKです。
まとめ
お疲れ様です。以上で終了です。コマンドプロンプトに慣れておられ無い場合はちょっと難しいかも。少しずつでいいので、慣れて行って下さい。
次回はテンプレートを作成して、自分でアドインを作成したいと思います。